Getting Started
What is Hulk?
Well, its an Avenger?
Yes and no, Hulk is a JSON Transpiler developed by our DevOps Team, built with Rust.
What Hulk can offer to me?
- Atomic JSON structure for defining Azure Resources
- Abstracts the complexity from Bicep 💪 and make your life easier
- Provides bindings between native Azure Cloud Resources and other objects (such as AAD)
Getting started with Hulk 💪
This tutorial will guide you through the entire process of creating your first Hulk project, including cloning the repo, installing the CLI and building your first project.
Prerequisites
- Cloning the Git Repository
git clone https://dev.azure.com/2020Development/Hulk%20IaC/_git/hulk-iacIf you are asked to enter Credentials you will need to generate a Personal Access Token (PAT)
Creating a new project
Run this command in your terminal:
hulk init project --team TEAM_NAME --project PROJECT_NAMEThis command will create a file named "main.json" under the path TEAM_NAME\PROJECT_NAME of the hulk-iac repository
└── main.jsonAdding modules (optional)
You can add modules with this command: hulk init module PATH_TO_CREATE/FILE.json
Make sure to include them via the modules property inside your main.json!
Adding resources
- Open your project folder in your favorite IDE
- Start to add resources to your definition. See an example here
Validating your code
- Run the synth command to validate your code
hulk synth PATH --env ENVIRONMENTCreating the CD Pipeline
- Run the pipeline creation command to generate the Azure pipelines .yml file
hulk pipeline create PATHAfter the pipeline is created, you can commit your project
Committing
- Checkout to your new branch
git checkout -b BRANCH_NAME- Add the new files to the branch
git add .\argvengers\TEAM_NAME\main.json .\argvengers\TEAM_NAME\cd-pipeline.yml- Commit to the branch, don’t forget to input a commit message
git commit -m 'Initial commit for TEAM_NAME project'- Push
git push -u origin BRANCH_NAMEPull Request
-
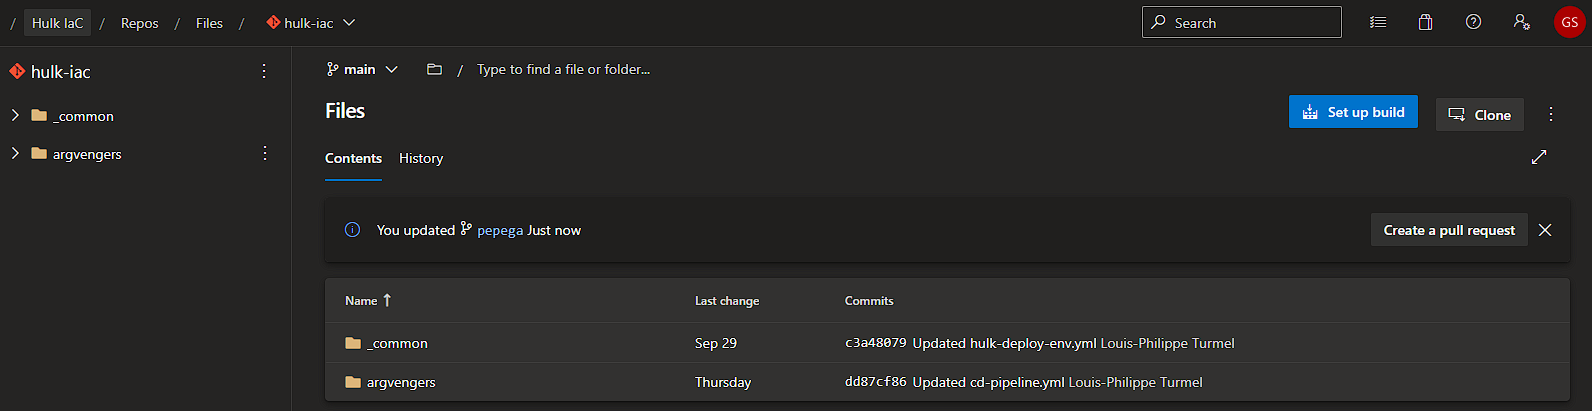
Open the Hulk-Iac Repo on Azure Devops and click on “Create a Pull Request”;
-
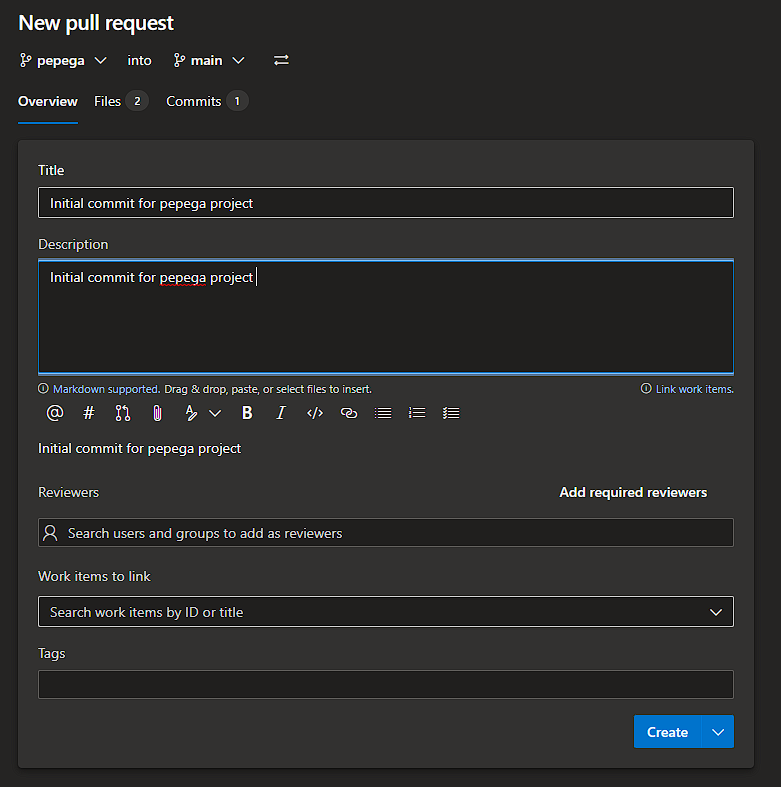
Insert the name and the description for the Pull Request and click “Create”;
-
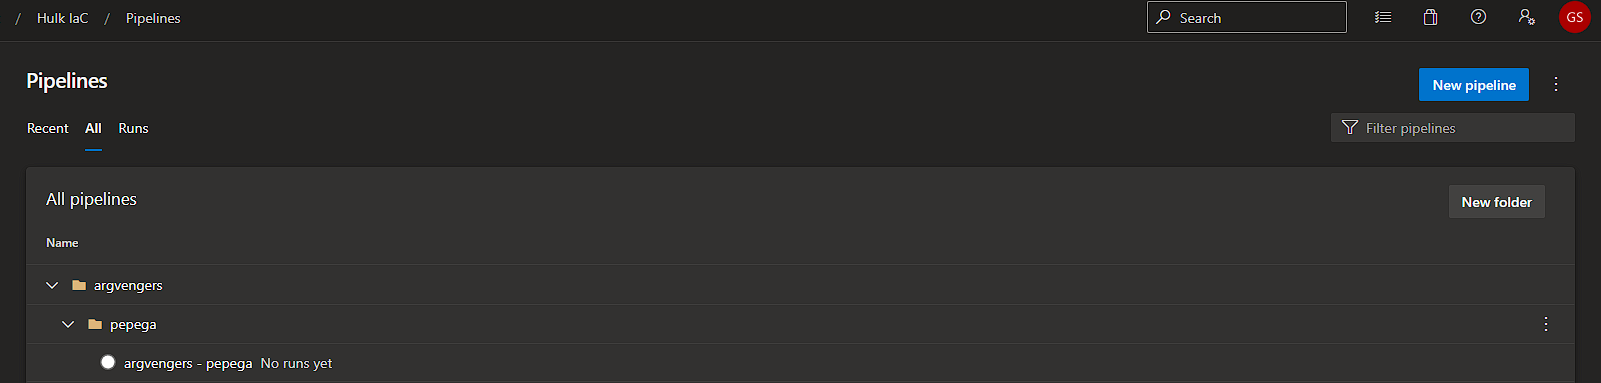
After your Pull Request is reviewed and merged by the DevOps team,your pipeline will be automatically created
-
Next your pipeline can be ran on specific stages to deploy your infrastructure
That’s it!